Table of Contents Show
No matter how perfectionist you are at cleaning the Samsung or protecting it from scratches and damages by investing in compatible screen protectors, cases, etc. At some point, the internal parts like Microphone, Speakers, and Camera are likely to get caught up in dust, dirt, and debris. It’s fair, because smartphones go everywhere with us, to bed, to the office, to park, to gym, to traffic, and many more places where they are directly exposed to dirt.
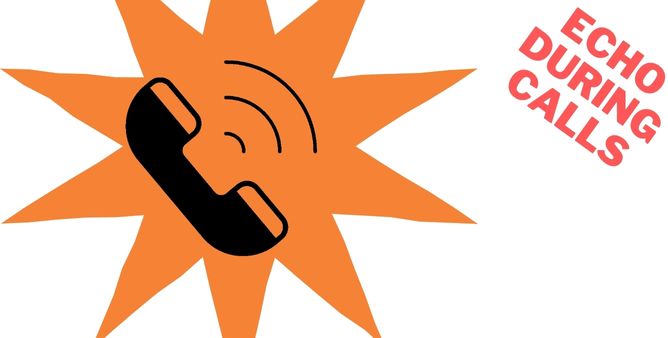
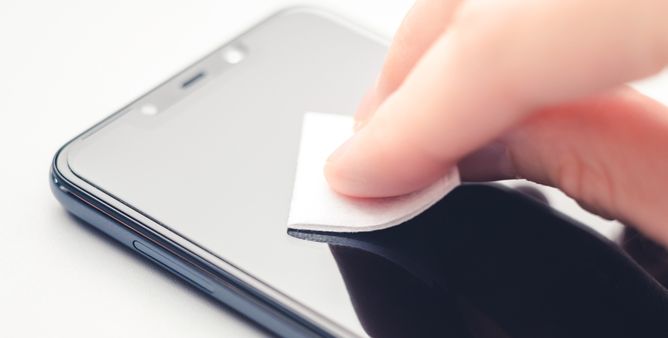
When it comes to the display and other parts of Samsung, they are easy to clean, wiping out with a clean microfibre cloth removes all the foreign particles from the surface, but speakers and microphones are not that easy to clean up. Add to the problem, that over time when speakers and microphones start clogging up with wax and dust particles, they malfunction, and hence you will have to deal with distorted and fumbled sounds during calls or even while playing music. Continue reading the article to know in detail how to clean your Samsung speaker and microphone without damaging them.
How to Clean your Samsung Speaker and Microphone Safely?
Things to Consider Before Cleaning Up the Speaker and Microphone
- Power Off the device.
- Remove the case before you start to clean the phone in order to get a clear view of the microphone and speaker.
- Unplug the device from charging and remove any other accessories connected like headphones, etc. if any.
- Refrain from using metallic cleaning objects as it could destroy the speaker and microphone.
- Avoid pressurizing while cleaning the speaker and microphone.
- Even though the smartphones are water resistant, we cannot dip the phone into the water to clean, it will damage the internal parts and hence you might end up losing the device. Don’t use any type of liquid cleaner.
Start with Soft Brush
The very first tool that you are going to use is a Soft Tooth Brush to clean up the microphone and speaker. When it comes to Brush, there are many brushes available like Paint Brush, Hair Brush, Cushion Brush, etc. but here we will use Tooth Soft Bristled Brush. Don’t force too much on the speaker and microphone, and scrub gently and slowly. Moreover hold the brush from the neck, to get a better grip on it while cleaning.
Use Painter’s Tape
Painter’s Tape is recommended because it comes with a minimum adhesive which is capable of attracting the dirt from the speakers and microphone when placed correctly. Tear out a small piece of painter’s tape and stick it to the microphone and speakers with gentle pressure and remove the tape. If you find any debris or dirt on the tape, throw that piece and use new tape and follow the same procedure until you find the speaker and microphone clean.
Use Toothpick
Be careful with toothpicks! Even though toothpicks give most positive response than any other workaround mentioned here to clean up the speaker and microphone, at the same time it is too dangerous if didn’t handle with care. Make sure you don’t press too hard on the grill or it will burst the speaker and microphone. Keep your hand light while cleaning the phone with a toothpick.
More Posts,