
Table of Contents Show
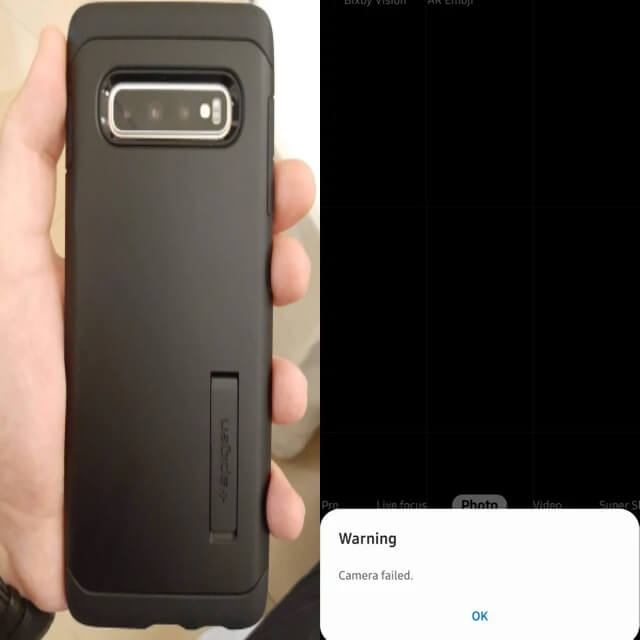
Samsung S10 keeps showing Refining pictures and the camera app crashing, why is this happening? Along with this, a few users are also complaining the Unfortunately Camera has stopped on S10 and the back camera is not working. You might be wondering, what is the reason behind these failures with such a great phone? Applications on the Samsung S10 series may face some issues, but they are temporary, if you try to fix them it will only take a minute or two.
This article is all about, fix Camera has stopped on S10, Unfortunately Camera has stopped error, and most importantly getting rid of the Camera keeps showing refining pictures on S10. Anyhow all the issues can be fixed with the below-mentioned tips. Read on.
Fix Camera Keeps Crashing on Samsung Galaxy S10,
Trick 1: Restart Samsung S10
Refining Pictures on Samsung S10 is a weird problem with the new Samsung devices. One of the users has described that after taking 50 photos continuous on Samsung S10, Refining pictures appeared. But then, to eliminate this, he has to restart the device. For once, you should try to restart the phone.
Hold the Power button and Volume Down button, for at least 10 to 12 seconds. After several seconds, the Maintenance Boot Mode will appear.
Select Normal Boot. It will take some time to completely boot up the device.
Trick 2: Reset Camera Settings
Camera keeps crashing on Samsung S10, is another difficulty that arises with Refining pictures error. If Camera apps keep shutting down and showing refining pictures again and again then Reset Camera Settings. That would remove the invalid settings of the Camera app.
- Launch Camera
- Locate Settings icon, on the upper-left corner.
- Go to the bottom of the screen and hit Reset Settings.
- Confirm Reset Settings.
Trick 3: Clear Data & Cache on the Camera app
Alongside, clearing Data and Cache of Camera app will also free up irrelevant files that are harming the functionality. The Camera app will return to a more stable form, once you remove the load from the app.
- Open Settings, from the notification panel.
- Tap Apps.
- Tap on the three-dot icon on the upper-right side of the display.
- Select Show System Apps.
- Find the Camera
- Tap Storage.
- Lastly, tap on Clear Data and Clear Cache.
Trick 4: Update Camera app and Samsung S10
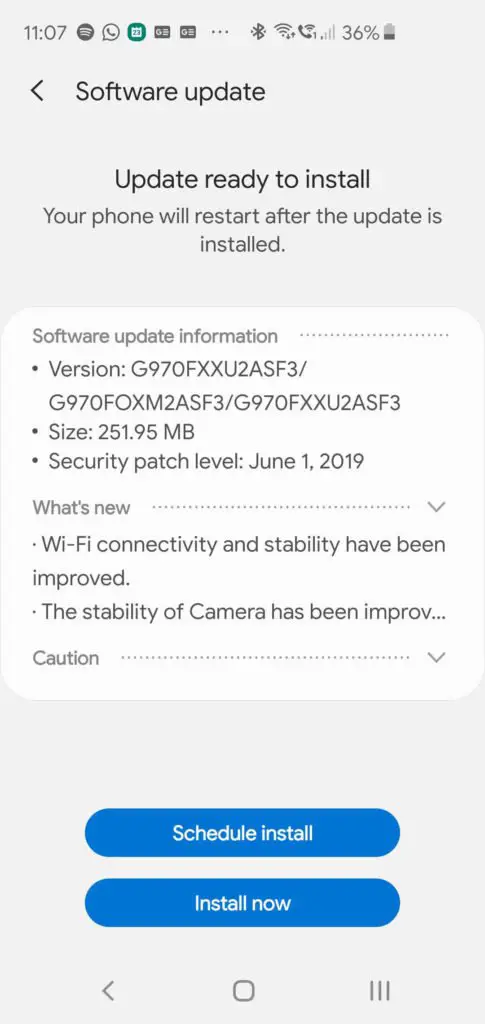
Have you updated the S10? If not, then update the phone as early as possible to prevent such system errors. Every update brings some bugfix and security updates to improve the performance of the phone. It might be possible that unfortunately, the camera has stopped error will get eradicated permanently.
Update Camera app,
- Camera app > Camera Settings > About Camera.
Update Phone,
- Settings app > System Updates > Check for System Updates >Download > Install Now.

Trick 5: Reset App Preferences
Camera app requires other system services and applications to work correctly. In case any of the app or service goes rogue then, it is obvious to receive the Camera app has stopped error on Samsung S10. Reset App Preferences, will simply delete all the app preferences and set it to factory default.
- Navigate to the Settings app from App Drawer.
- Tap Apps.
- Tap on three-dots for More Settings.
- Choose Reset App Preferences.
Trick 6: Wipe Cache Partition
Cache is a general term, you might be aware of. The basic function of Cache is to store images, ads, videos, links and other information that could actually relieve the load from the device. However, after some time this Cache could turn into a problem and we have to deal with numerous issues. With wipe cache partition, the device will get freed from old cache files and in bonus, you will get some extra storage.
- Power off the Samsung S10.
- Press and hold the Bixby+Volume Up button and then hold down the Power
- Leave all the buttons, when Android Logo appears on the screen. Don’t panic, because the Android logo will stay on screen for 30-60 seconds.
- After then you will find the options to Wipe Cache Partition, to navigate through Wipe Cache Partition using the Volume Down button.
- Use the Power button to select Wipe Cache Partition.
- Again use the Volume Down button and select Yes to confirm the action.
- Lastly, choose Reboot System Now once the Wipe Cache Partition is completed.
Trick 7: Restore the Samsung S10
The above solution only wipes out the cache data, but when you restore the device, every single file will get deleted. These files include Apps, Images, Google Accounts, Videos, and other settings. In return, the Samsung S10 will be relieved from bugs, malware, glitches, etc. So, take a backup of important data and restore the phone.
- Launch the Settings
- Tap General Management.
- Search and open Reset.
- Choose a Factory Data Reset.
- Tap Reset and confirm it.
More Posts,