
Table of Contents Show
The Samsung Galaxy S10 is one of the best models launched by Samsung. This device is well known for having a 6.4 inch dynamic AMOLED infinity display making it a great use for appearing the multiple types of content. Samsung Galaxy S10 has dual 12-megapixel cameras that allow the user to take a better quality of pictures. It contains Snapdragon 855 processor paired with 8GB RAM. Even though this is a great performing phone at some point the problem can occur and today we will perform few tricks to prevent your Samsung S10, S10plus from stuck on the software update screen problem.
While we are busy teasing our device, in the end, we find the real culprit is not our phone. In that case, we would advise you to wait for a few minutes when Samsung is stuck on the software checking screen, often the server goes down when multiple users are downloading the updates. After waiting long, still the problem continues, then a bundle of tricks is waiting for you to fix the software issue on S10/S10Plus.
Also Read: How to Block Incoming Calls and Text Messages on Samsung S10/S10Plus/S10e
Also Read: How to Rename Galaxy Buds
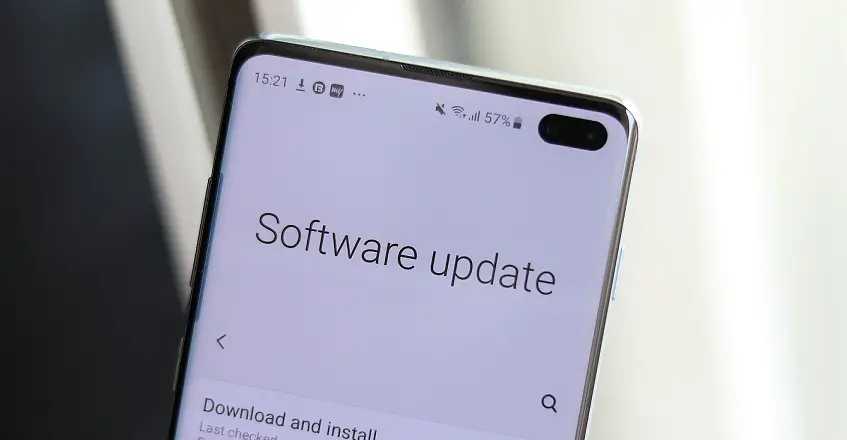
Fix Samsung S10/S10 Plus Stuck on Checking for Software Update Screen
Procedure 1: Force Restart your device
A soft reset is the first thing to perform to solve your device from being Stuck on checking for the software update screen. This will usually repair the problem caused due to small software glitches as it will refresh the device software.
How can I perform Soft Restart on Samsung Galaxy S10?
- Press and hold Volume Low Button and Power Button for up to 10 sec.
- Wait as the Phone restart.
Procedure 2: Make sure the device is charged enough
It is obvious if your device is not charged at a certain level or not connected to the charger, S10 or S10Plus will be stuck on the logo. At this time, the wise option is to plug the charger and let it stay connected for an hour.
Also Read: Best 5 Samsung Tablets to buy Now
Also Read: Best Galaxy Buds Cases
Procedure 3: Update the device using the OTA method
When S10 stuck on checking for updates, try closing the screen and restart the device. Later, update the phone to the latest version, using the OTA method, which is actually a manual method to update the Samsung phone.
How can I update Samsung galaxy S10 using the OTA method?
Here’s how to update Samsung Galaxy S10, S10Plus using the OTA method, make sure your device is connected with a strong Wi-Fi network.
- To open App tray, scroll up on a blank spot from the main screen.
- Tap Settings.
- Tap Software Update.
- Select Download Updates Manually.
- Wait for the phone to verify for updates.
- Hit OK.
- Hit Start.
- Tap OK, when the restart message appears.
Also Read: How to Enable Dark Mode on Google Apps One UI 2
Procedure 4: Update from Computer using Smart Switch
Verify that you have backup all your important data before performing this procedure. The Smart Switch is an alternate tool that lets you transfer data from PC to phone or vice versa. However, Smart Switch can also update your device, just follow how can it be done, to avoid S10 software update stuck issues.
How can we update from a computer using the smart switch in Samsung Galaxy S10?
- Install and download Samsung Smart Switch that is suitable for your PC.
- Connect the USB cable to an appropriate USB port on your PC.
- Connect another suitable end of the USB cable to your device.
- Permit your PC to install any drivers required for your phone.
- Access the Smart Switch on your PC and permit it to create the connection.
- If the Software update is present for your phone, the Smart switch will spontaneously persist you to update.
- Click Update to start downloading the files.
- Click OK to proceed further.
- Your phone may switch off for some time during the update.
- Once the update is complete the phone will return to the Main screen.
Also Read: How to Downgrade Samsung S10 from Android 10 to Android 9
Procedure 4: Wipe Cache partition of the device
To increase the access speed of your phone apps cached data is used. Formerly this data can be deprived due to which it produces the problem in the device. To verify if a depraved cached data is creating the issue you will need to delete the cache partition of the device from the recovery mode.
How can I perform Wipe Cache partition in Samsung Galaxy S10?
- Switch off the device.
- Press and hold the Bixby Button and the Volume High Button.
- Then press and hold the Power Button.
- When the Android symbol appears, free all the buttons.
- Press the Volume Low Button to feature “Wipe Cache Partition”.
- Press the Power Button to select the options. Select “Yes”.
- After the completion of the cache partition, “Reboot System Now” is featured.
- Press the Power Button to restart the device.
Verify if the software update will be finished.
Procedure 5: Factory Reset
After performing this task if the problem is not solved yet then you need to perform a factory reset. This will fix the issue forever, and restore the device just like the new one. Though, if you won’t back up, there is no way to recover the data stored on the phone.
Note:- You need to back up all the important data from your device before performing the factory reset.
How can I perform a factory reset in Samsung Galaxy S10?
Method 1:
- Press and hold the Power Button +Volume Low button for a few seconds.
- When the device is switched off press and hold Power Button + Volume High Button + Bixby Button for a couple of seconds.
- If Upload Mode appears release all the buttons.
- Press and hold Power Button + Volume Low Button for a maximum of 3 seconds.
- Then immediately press and hold the Bixby Button + Power Button + Volume High Button till Samsung Galaxy S10 appears on display.
- From Recovery Mode select Factory reset/Wipe data.
- With the help of Volume, Buttons swipe down.
- Power button to confirm the appropriate option.
- Select YES and click the Power Button.
Method 2:
- Launch Settings on your device.
- Go to General management > Reset.
- Tap Factory data reset.
- Tap Reset and confirm by selecting DELETE ALL.