
Table of Contents Show
Red/Green Notification Light not working on Samsung S9, isn’t that your problem? No worries, here are some tricks that will help you fix the problem. Notification alerts are the best way to get notified when we are in a meeting or in traffic, as in such conditions we cannot hear the notification sound on the Samsung phone.
In this short tutorial, we will guide you on how notification LED works on Samsung S9 and how to get the most out of it.
Relevant Posts,
- Best Samsung Tablets to Buy in 2020
- How to Hide Caller ID on Samsung S10, S10Plus, S10e/S9
- Best Tripod For Samsung Note 10/Note 10Plus
Fix Samsung S9 Notification Light Not Working
What Does the Notification Color Indicate in Samsung S9
First of all, understand what these notification lights indicate, as every time different lights blink. The LED notification light is located on the upper front screen of the Samsung S9. Check out the functions of LED lights,
Blue
- Pulsing: When you turn on/off the device.
- Blinking: When any unread notifications are present including Missed Calls, Messages, Voice Recording, etc.
Green
- Glowing: When the device is in charging and fully charged.
- Blinking: When the phone is fully charged.
Red
- Glowing: When the phone is in charge.
- Blinking: It indicates the device is Low on battery.
Other Colors
White, Purple, and Pink colors are also blinking as Notification LED when you have installed any Third-party application that supports LED Notification.
This was all about how LED Notifications work on your Samsung S9. Back to the problem, begin with the tips and fix Samsung S9 LED Notification Light Not Working.
Disable and Enable Notification Light
Sometimes simply turning off and on can fix the notification light not working on Samsung S9. So, follow the steps and disable the Notification light for a few minutes.
- Open the Settings app, by tapping on the Gear-shaped setting icon from the notification panel.
- Tap Display.
- Turn off LED indicator.
That’s all! Now you have disabled the notification light on Samsung S9, again go through the same sequence and check the box next to LED Indicator.
Notification LED Not Working for WhatsApp Samsung S9
Many people have reported that notification light not working for WhatsApp on Samsung S9, here’s what you can do to fix.
On Phone,
- Go to the Settings app.
- Tap Apps.
- Locate WhatsApp.
- Tap Storage > Clear cache.
On WhatsApp,
- Next, open the WhatsApp.
- Tap on three dots.
- Then Settings > Notifications > set LED color or Light to None.
On Phone,
- Settings app > Display > disable and enable LED indicator.
On WhatsApp,
- Go to WhatsApp > Settings > Notifications > LED indication and choose the color.
Alternatively, try using the Light Flow Pro or Light Flow Legacy, these are the best applications that can substitute the default LED notification light if it is not working.
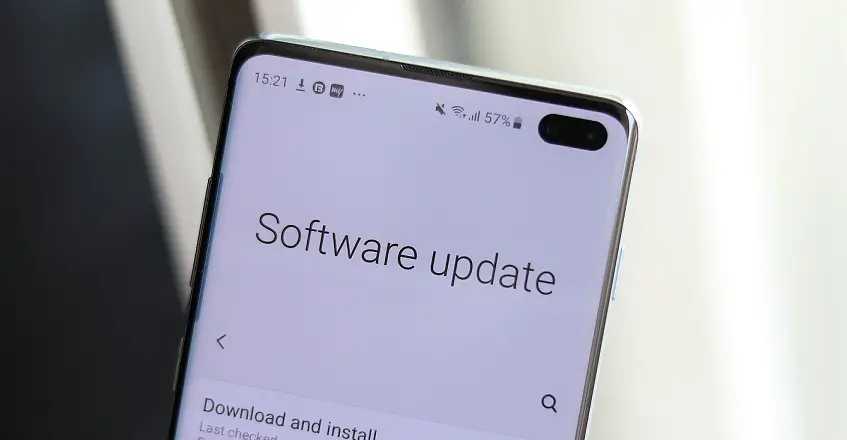
Update the Phone
Notification light not working after the Android 10 update is a major bug of the Android 10 update. The best thing you can do is update the phone and see if Samsung has fixed this issue or not.
- Go to the Settings app.
- Scroll down to System updates.
Reset Settings
If you are having a problem with any System Settings, then this trick will work great for you. All the custom settings will be clear to default, after Reset Settings on your phone. Though, you have to set up the settings as usual.
- Tap on Menu.
- Tap Settings
- Go to General Management.
- Select Reset and then tap on Reset Settings.
- Confirm, Reset Settings.
Wipe Cache Partition
Using the Samsung S9 for a long time? Then definitely, a lot of cache files have occupied space on your device, not all the cache files are beneficial for the system. Some are intended to damage the system, so without thinking much more, Wipe Cache Partition on Samsung S9,
- Shut down the device.
- Now, press and hold the Power button, Bixby button, and Volume Up button at the same time.
- Release all the buttons when you see the Android logo on the screen.
- Using Volume keys, navigate to the Wipe Cache Partition.
- To select Wipe Cache Partition, press the Power button.
- Lastly, use the Power button to choose Reboot System Now.
Also Read,